

DOM stands for document object model. On our web pages everything gets represented as an object so consider DOM a way to model our document.
DOM helps us manipulating our web pages' content and this blog is all bout the basic methods used for manipulation.
Ready To dive in?
selecting DOM elements
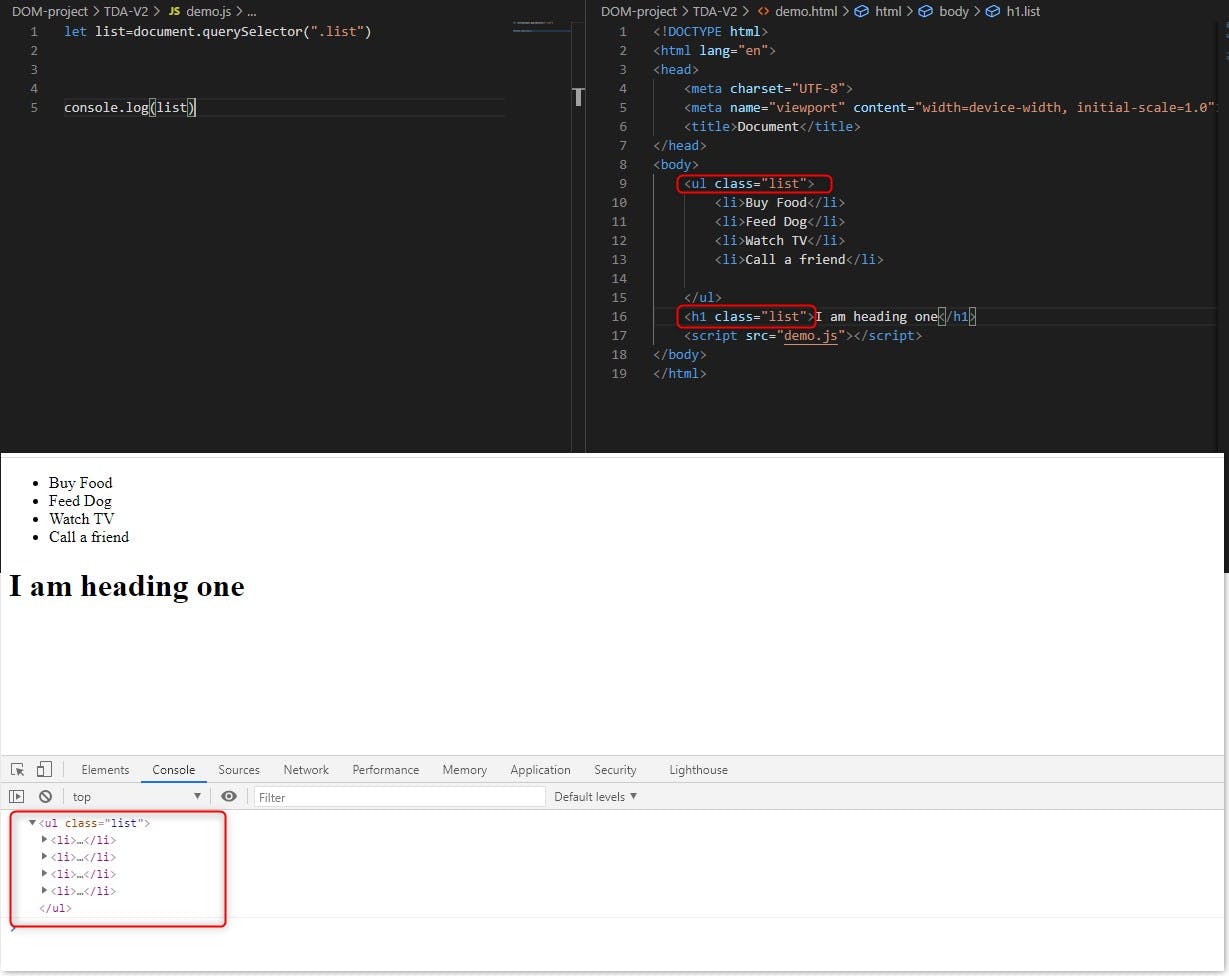
querySelector - This method is used to select elements on the basis of the selector we pass in.
This method returns only the first instance of the selector that you passed in it as a string.
Refer the image below.
you can see, we have a ul with a class -> list and also an h1 with the same class but the querySelector method just returns the first element (ul) and ignores the heading
querySelectorAll()
This method returns a node list of all the elements that match the selector you passed in this method.
The nodelist it returns is in a form of an array. And you can access them using the indexes.
Refer to the image below
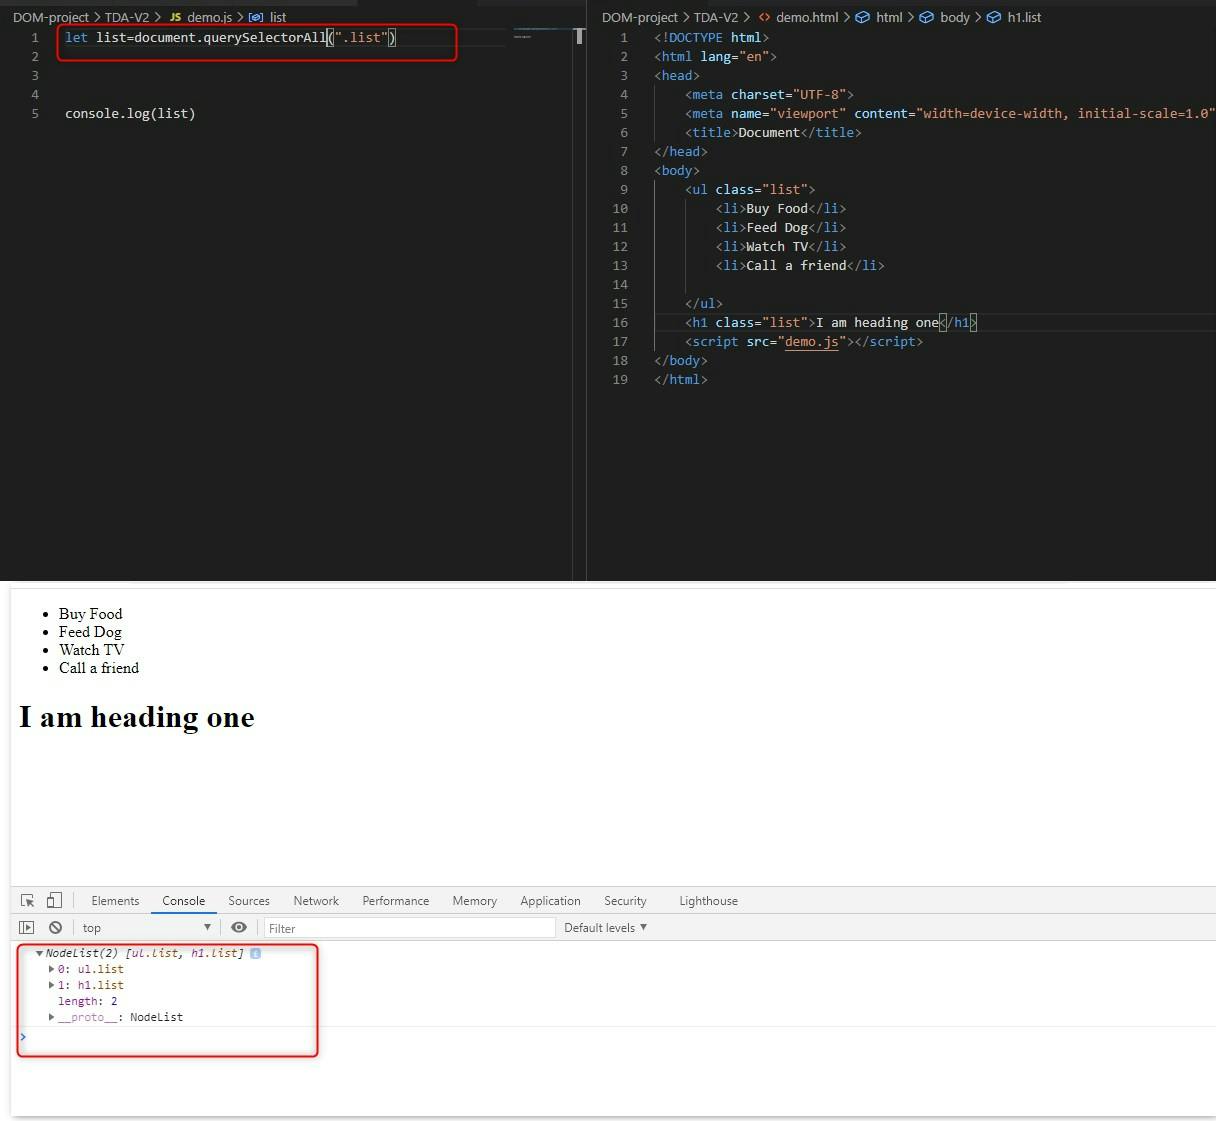
Could you see the difference? querySelector just selects the first instance of the selector you pass in whereas querySelectorAll selects all the instances and returns a node list of the elements.
Get and Set methods Though DOM provides many methods for getting and setting values of elements but we will discuss just two as of now and they are:
innerText - this method is used to read or set the value of HTML elements.
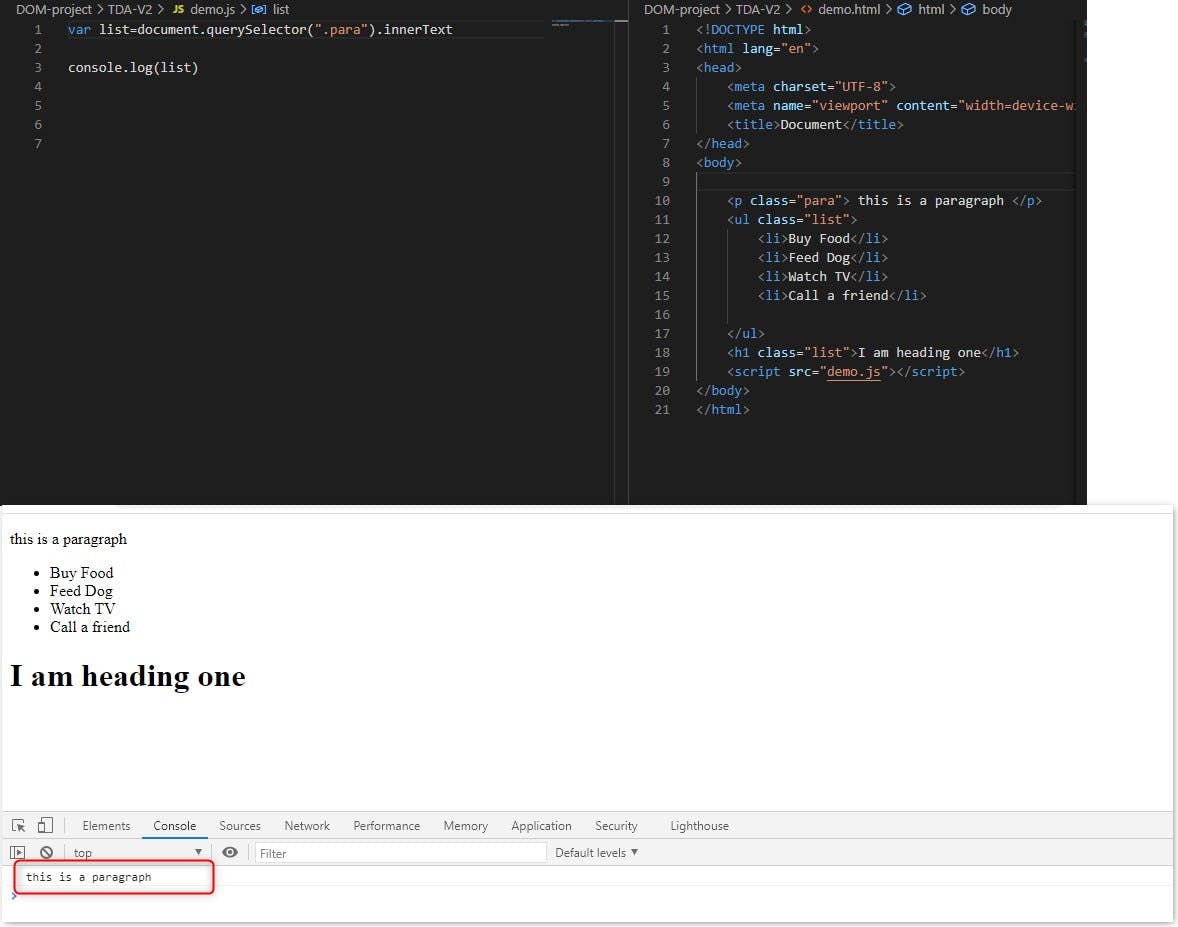 see the image above, we have successfully read the text of that specific element ( I am logging values in the browser itself).
Now if I want to change the paragraph text, I would do that as:
var list=document.querySelector(".para").innerText=" someone changed me"

console.log(list)
Now this an exercise for you: change the innerText of para or a heading and see if the text inside it changes or not.
innerHTML
using this method we can get or set the HTML dynamically.
Exercise: take any para tag in your HTML file and read its property. here is a code snippet you can try
var list=document.querySelector(".para").innerHTML

console.log(list)
Now let us set the HTML of the para tag. Here we will change the p tag into a h1 tag. Let us see how it is done.
var list=document.querySelector(".para").innerHTML="<h1>I am now a heading</h1>"

console.log(list)
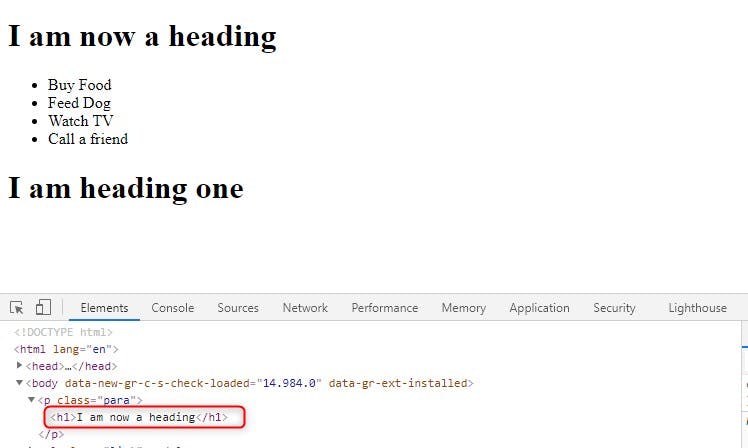
Saw the image above 👆 . the p tag changes dynamically into an h1. This is the power of DOM.
Now let us discuss how to create elements.
1) document.createElement()
As the name suggests this method creates a new element in the dom tree. See the syntax. In this method, you need to pass the type of element that you want to create as a string. Here is a snippet
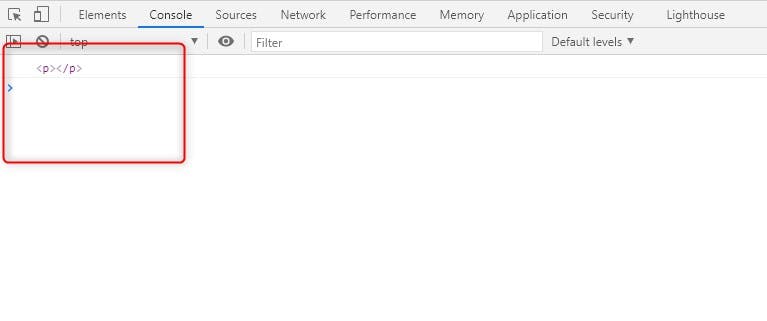
let paraEl=document.createElement("p");
console.log(paraEl);
refer the image below: a new p tag has been created. Though it won't show any content inside as we haven't appended any content inside it.
document.createTextNode method
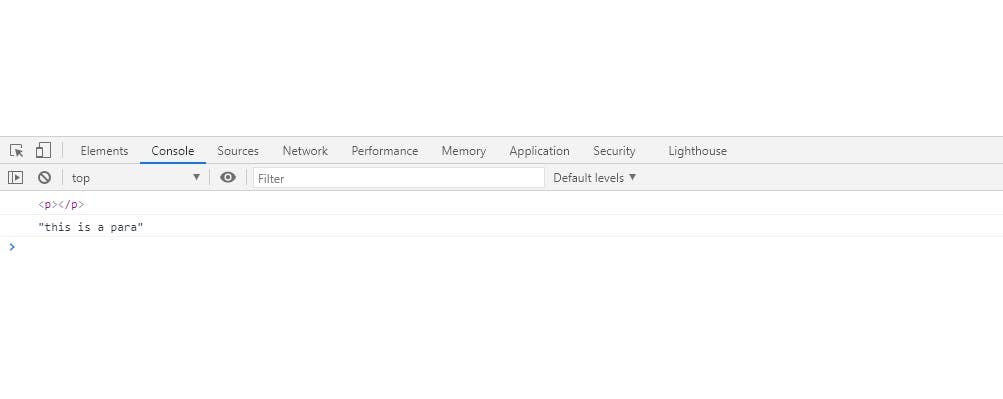
so in the above step, we created a "p" element now let us add some content inside it. For that purpose, we will use a method called document.createTextNode()
let newPara=document.createTextNode("this is a paragraph")

console.log(newPara);
The above lines of code will insert a new para in the document.
But remember it does not get attached to the div element itself. For that, we need to append it to the div. But how?
Here comes our next method in the picture.
appendChild() this method appends an element to " the end" a particular list of elements.
What do you mean by add at the last of a list of nodes?
wondering?
let me explain
 <div id="main">

        <p>this is p1</p>
          <p>this is p2</p>

    </div>
this 👆 code snippet is our HTML.
Here we have a div with an id of main and two paragraphs. Now I want to insert another paragraph ( the paragraph that I created just above) dynamically ( using javascript).
But remember? we first need to attach it to the p tag itself? so here how that is done
let paraEl=document.createElement("p");
let para=document.createTextNode("this is a para")
paraEl.appendChild(para);
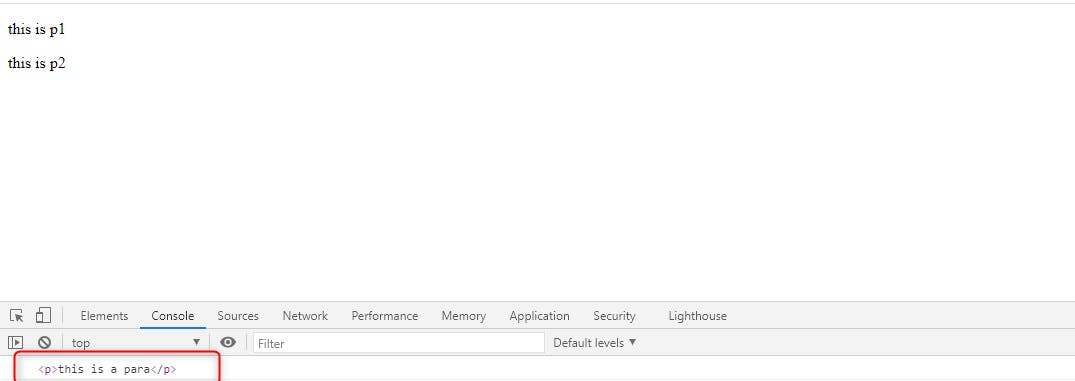
saw the image above? we have successfully added our paragraph to the tag and that too via javascript. yayy!
but you might be wondering why I am not able to see the para in the browser window.
the reason for that is because we have not appended to new para element to the div that is inside out HTML
Shall we do that?
first, we will get the div with the id of main
here is the code.
let main=document.querySelector("#main")
now just simply append the new element we created to this div
main.appendChild(paraEl)
and we are done again. We have successfully added our element to the dom view.
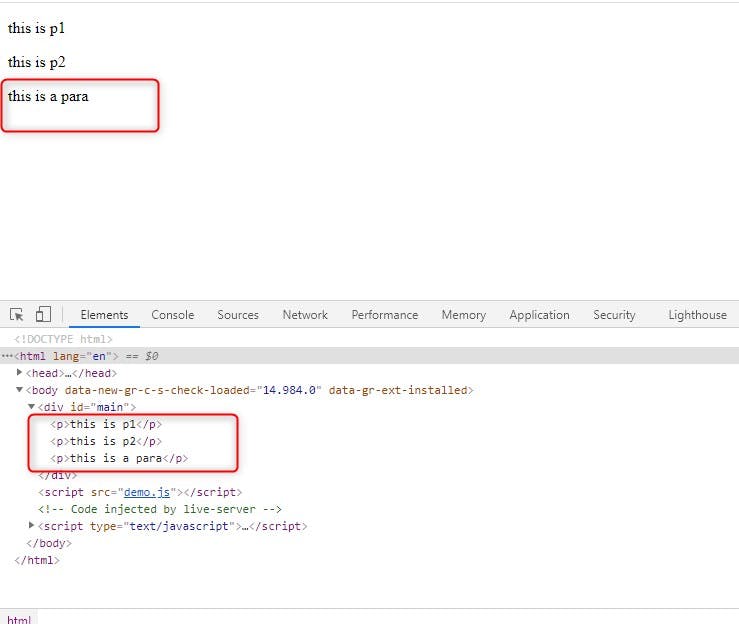
Remember I said that appendChild() inserts the new element to the end of a specified list. that is the reason our paragraph got its place at the very end of the list.
Now some of you might be wondering that I want the newly created element to get inserted at the top of the list. How can I do that? is there no way to do this?
surely there is and for that, we have another dom method called insertBefore()
let us see the syntax first
main.insertBefore(paraEl,main.childNodes[])
here main is the div that we have in our HTML file. remember?
insertBefore method takes two arguments.
first -> which element you want to add second-> where do you want to insert
so in our case first-> the element that we created a few minutes before and where? in our main div at a position before the value that we pass in childNodes[] method.
how do we set the position? for that, we need a childNodes method that takes the value of the position before which you want to insert.
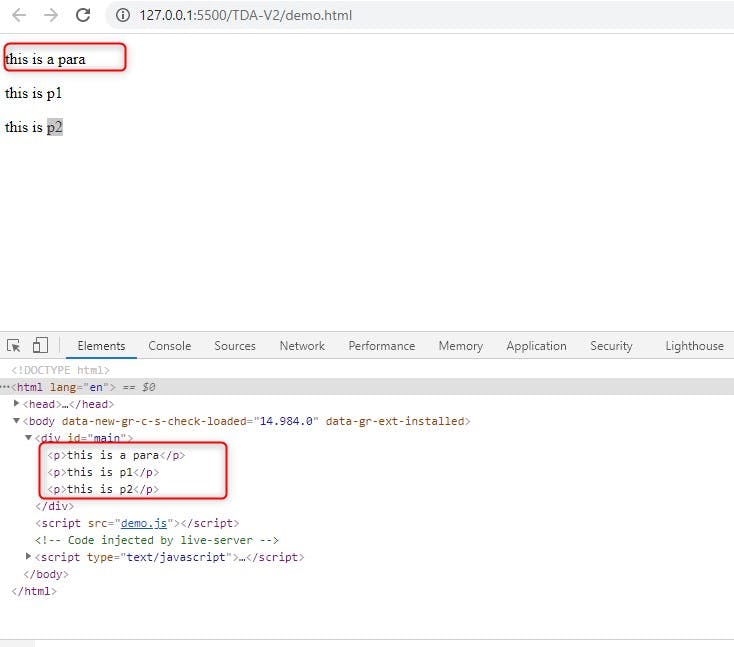
in our case we want to add to to the top so, I will give it a position of "0"
main.insertBefore(paraEl,main.childNodes[0])
And Done
Exercise: Now try inserting the paragraph in middle between the list at whatever position you would like to. Just keep in mind it will always be inserted just before the value you provide in the childNodes method.
This does not end here. If you have completed the read try a simple todo app reading this guide too.