

Hey readers ! Hope you are coding and coffeing lol.
Without starting the actual content of this blog, i would like to share who this blog is for and what we are going to build.
This is going to be a beginner level project though, I am expecting that you are already familiar with basics of html, css and dom scripting in js.
where we will learn how to hit an api's endpoint, get data and render it on the UI. Everything using :
- html ( bare minimum)
- css (bare minimum)
and vanilla JS.
By no means you need to be an expert but knowing how to reference various selectors using dom methods is a must.
**html part**
The html part is quite simple.
We need a container. You can add header and footer if you want to.
inside the container, we will be needing an image tag, into which we will be adding images dynamically
and
a button - on the click of which the api endpoint will be hit and we will get the data.
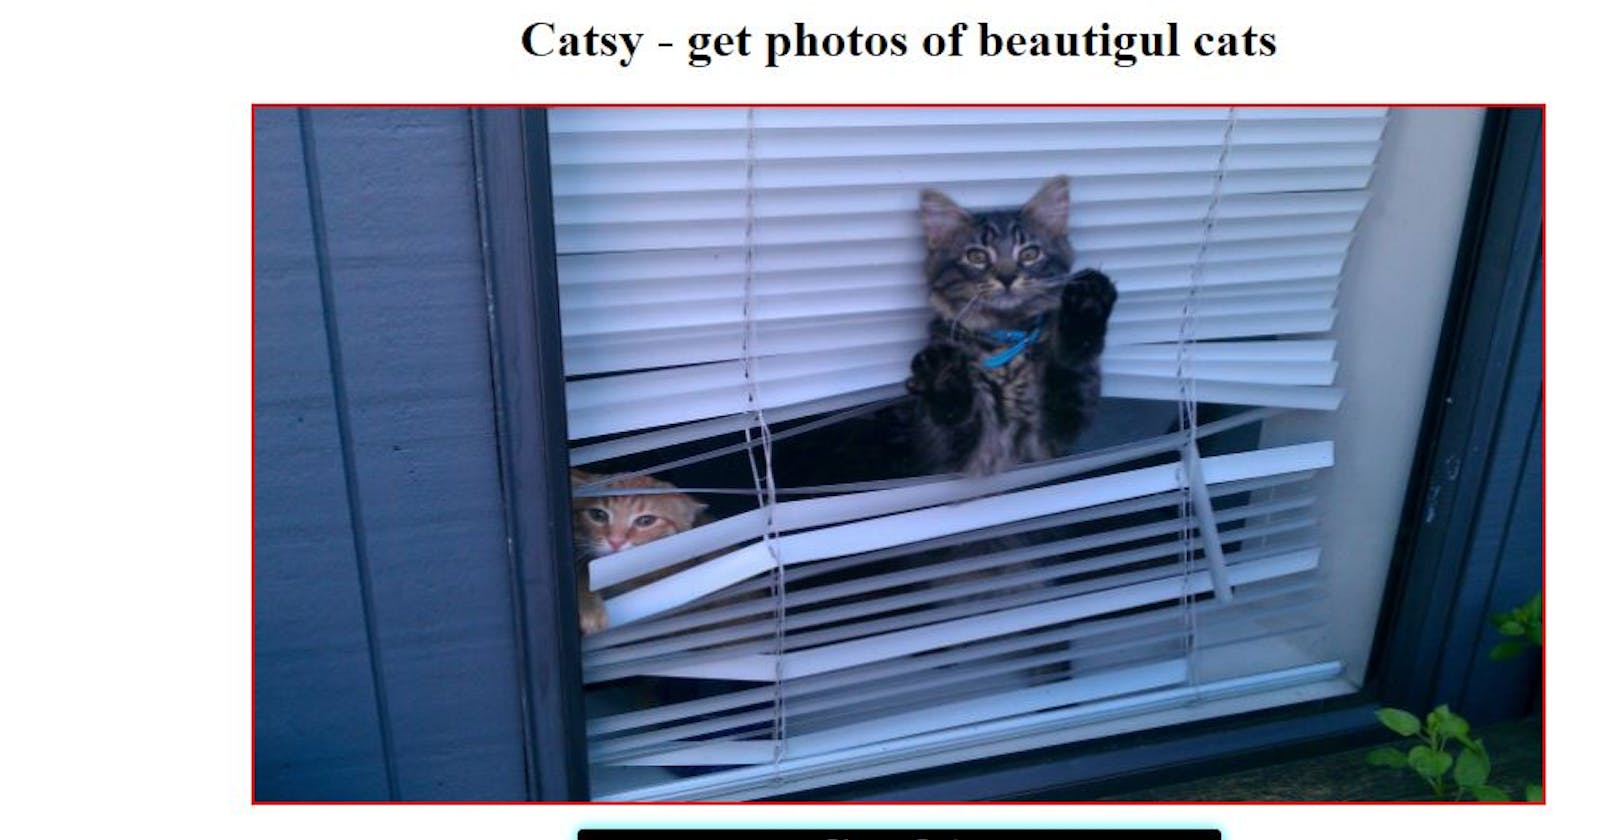
This is how my html structure is 👇
<!DOCTYPE html>
<html lang="en">
  <head>
    <meta charset="UTF-8" />
    <meta name="viewport" content="width=device-width, initial-scale=1.0" />
    <title>Document</title>
    <link rel="stylesheet" href="style.css" />
  </head>
  <body>
    <header id="main-header">
      <h1>Catsy - get photos of beautiful cats</h1>
    </header>

    <!-- container with an image tag -->
    <div class="container">
      <img src="" alt="" srcset="" />
    </div>

    <!-- // button with an id - show-cats-btn -->
    <button id="show-cats-btn">Show Cats</button>

    <footer>
        made with 🧡
    </footer>
    <script src="app.js"></script>
  </body>
</html>
javascript part
I would like to divide the JS part in two parts:
1) accessing selectors in js, and adding event listeners
2)Using fetch, getting data and rendering it to the UI.
part 1
first, we will reference all the necessary elements in our javascript file using a method provided by document object called
document.querySelector()
So, I need to access
1) The container ( to show the images of cats)
2) The button on the click of which our api will hit
here is what my initial js code looks like
let container = document.querySelector(".container");
let showCats = document.querySelector("#show-cats-btn");
Now, we will add an event listener to the showCats variable. And here is how bit is done
showCats.addEventListener("click", getCatsPhotos);
Some new terms? well no worries let us dicuss about them in brief: we are attaching an event listener on our button.
An event listener as the name suggest listens to an event that just triggered when someone(user) click, inputs, scroll etc on the element on the UI.
It takes two arguments:
1) the event we want to listen for
2) a callback function that we need to execute once the click happens.
So as you can see in the above code snippet - our event is click and the callback is getCatsPhotos.
One thing to note here is i am not calling the getCatsPhotos function here, i am just passing the reference to it because we want it to execute only on the click of button.
Had I called it here only, it would have executed without the click of the button.
now let us build our function and we will fetch the API inside it.
function getCatsPhotos() {

}
The body of this function is empty as of now, but in the next steps we will ad the logic inside it.
Now, it time to work with fetch API.
Part 2)
The browser provides us with web APIs such as local storage, dom, etc and one such API is fetch API.
what exactly Fetch API is ?
It is an inbuilt api that helps to fetch data from an external API and returns a promise that we need to handle.
Now you must be thinking what is a promise now? well in very simple terms a promise is something that holds the value of an operation that is going to complete in near future.
We don't know when exactly it would complete.
So now let us starting working with our javascript file.
fetch("https://aws.random.cat/meow")
Now let us talk about this single line of code. Here we are using the inbuilt fetch method of javascript to fetch the url. This function takes the api as an argument.
Now as I mentioned earlier in the blog, this fetch method returns us a promise which we need to handle.
And we handle it by using .then() method.
Now again you might be wondering, here is another new term. lol. Yes!!
but let us connect it to English.
then is a verb, and it shows what you are going to do after a certain task or event has happend.
For eg :
Anuj will first study, then, he will go to the gym.
similarly here we will get the data then we will handle it.
So .then() is a function that takes a callback as an argument and this callback get executed once the task is finished.
Now this callback gives us a response.
so we pass response as a paramenter and let us see what data it has for us!!
fetch("https://aws.random.cat/meow").then(function (response) {
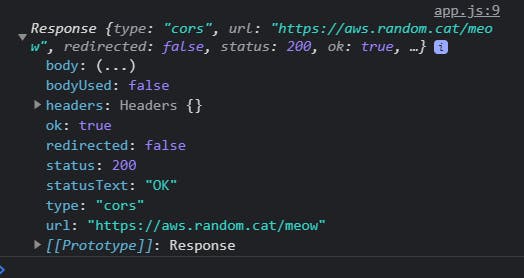
console.log(response);
});
As you can see, in the snippet below we have a response object that contains many properties.
And if you are seeing it for the first time, it might seem overwhelming ikr.
But as of now we need to focus only the the body key that is present inside the Response Object
Here in body we are not able to see any data, so we need to use json() method to convert the response to json and after doing that we will log it agian to the console.
👉here is the result
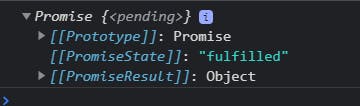
as you can see, here we gain get another promise.
And this is the thing which most dev dont know.
the first .then handler aslo returns us another promise that we need to handle.
So let us do that by attaching another .then() handler to ur first .then() handler.
But before doing that, instead of loggng resposne.json() we will return that as it contains the data that we need to use in our second .then() handler
And this second .then handler also takes a callback function as a parameter, which will give us the actual data back ( the data we need to display).
So here is the code snippet for that
fetch("https://aws.random.cat/meow")
  .then(function (response) {
    return response.json();
  })
  .then(function (data) {
    console.log(data);
  });
So the API that I am using in this project returns an object with random cat pictures.
Let us see how the data looks like.

Now the rendering part
remember we made a function getCatsPhots? now it is time to put our fetch logic inside it.
This is how the code looks like now.
let container = document.querySelector(".container");
let showCats = document.querySelector("#show-cats-btn");

showCats.addEventListener("click", getCatsPhotos);

function getCatsPhotos() {
  fetch("https://aws.random.cat/meow")
    .then(function (response) {
      return response.json();
    })
    .then(function (data) {
      console.log(data);

    });
}
But here we are just logging the data to the console.
We need to render it to the UI. Right?
so here we will use another DOM property:
my_variable.innerHTML = " beautiful day";
`
This property is used to get and set the html of an element. In this case, we are going to set the data inside our container. So the code goes like
let container = document.querySelector(".container");
let showCats = document.querySelector("#show-cats-btn");

showCats.addEventListener("click", getCatsPhotos);

function getCatsPhotos() {
  fetch("https://aws.random.cat/meow")
    .then(function (response) {
      return response.json();
    })
    .then(function (data) {
      container.innerHTML = `<img src="${data.file}"></img>`;
    });
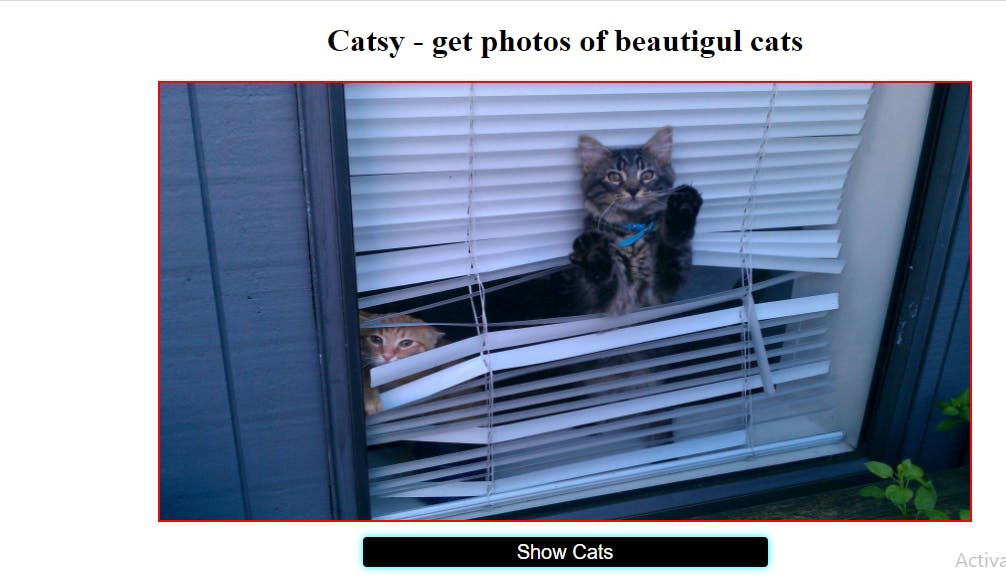
Here instead of logging the data, we are updating it to the UI.
And Yay!! It is done. Let me show you the final version of our mini app.
I hope you enjoyed working with the fetch API!
Gracias!!